Knowledgebase
Search Articles
Categories
Domains
Email Hosting
Web Hosting
WordPress Hosting
Website Builder
StarterSite
Account & Billing
- Explore Your Account
- Managing Your Account and Services
- Account Troubleshooting
Back to Stackcp Hosted Email
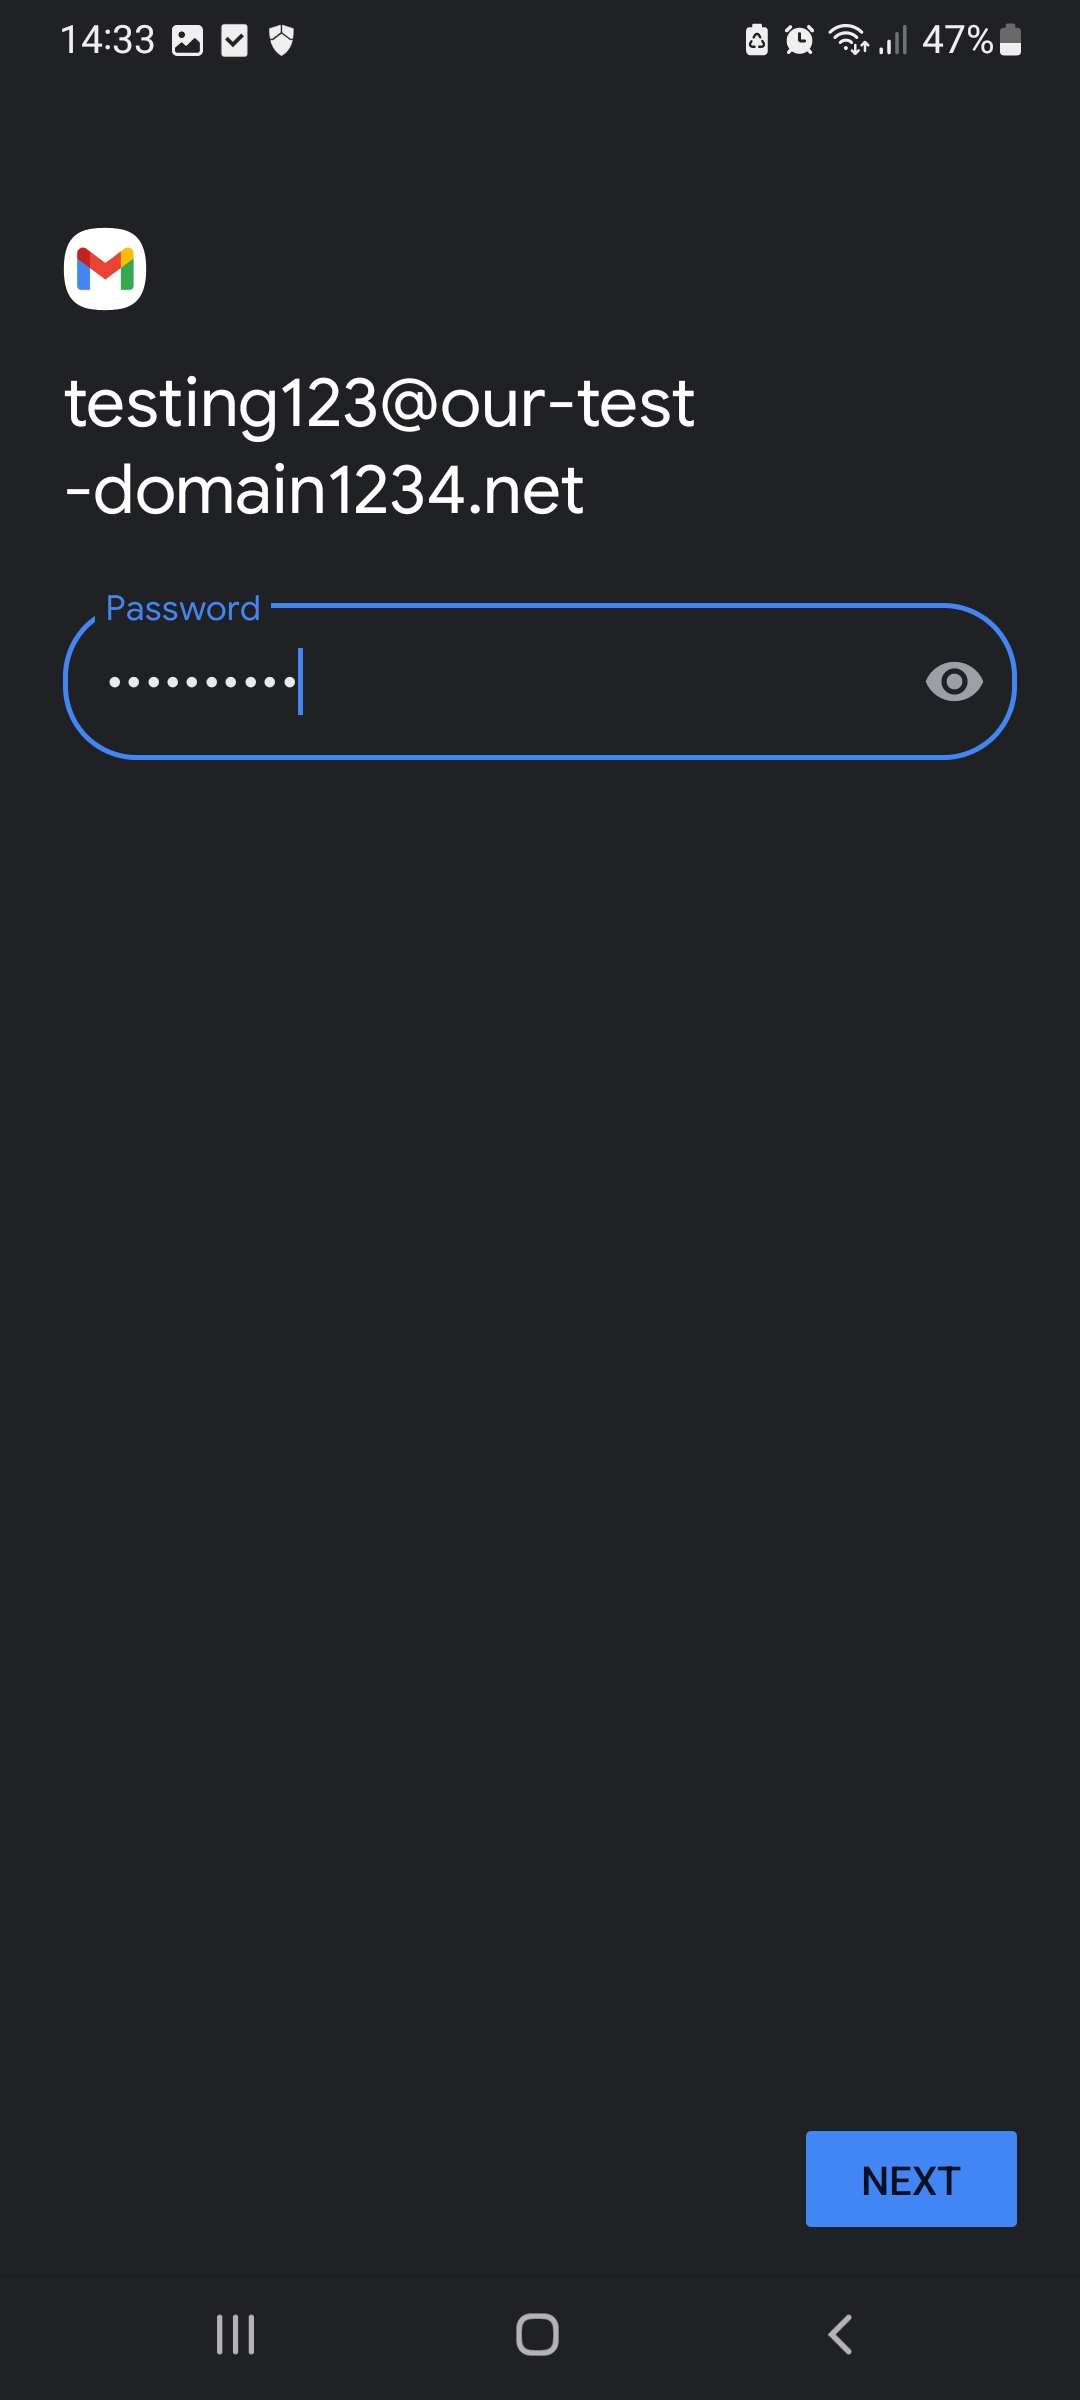
3. Enter your password for that email address and click Next
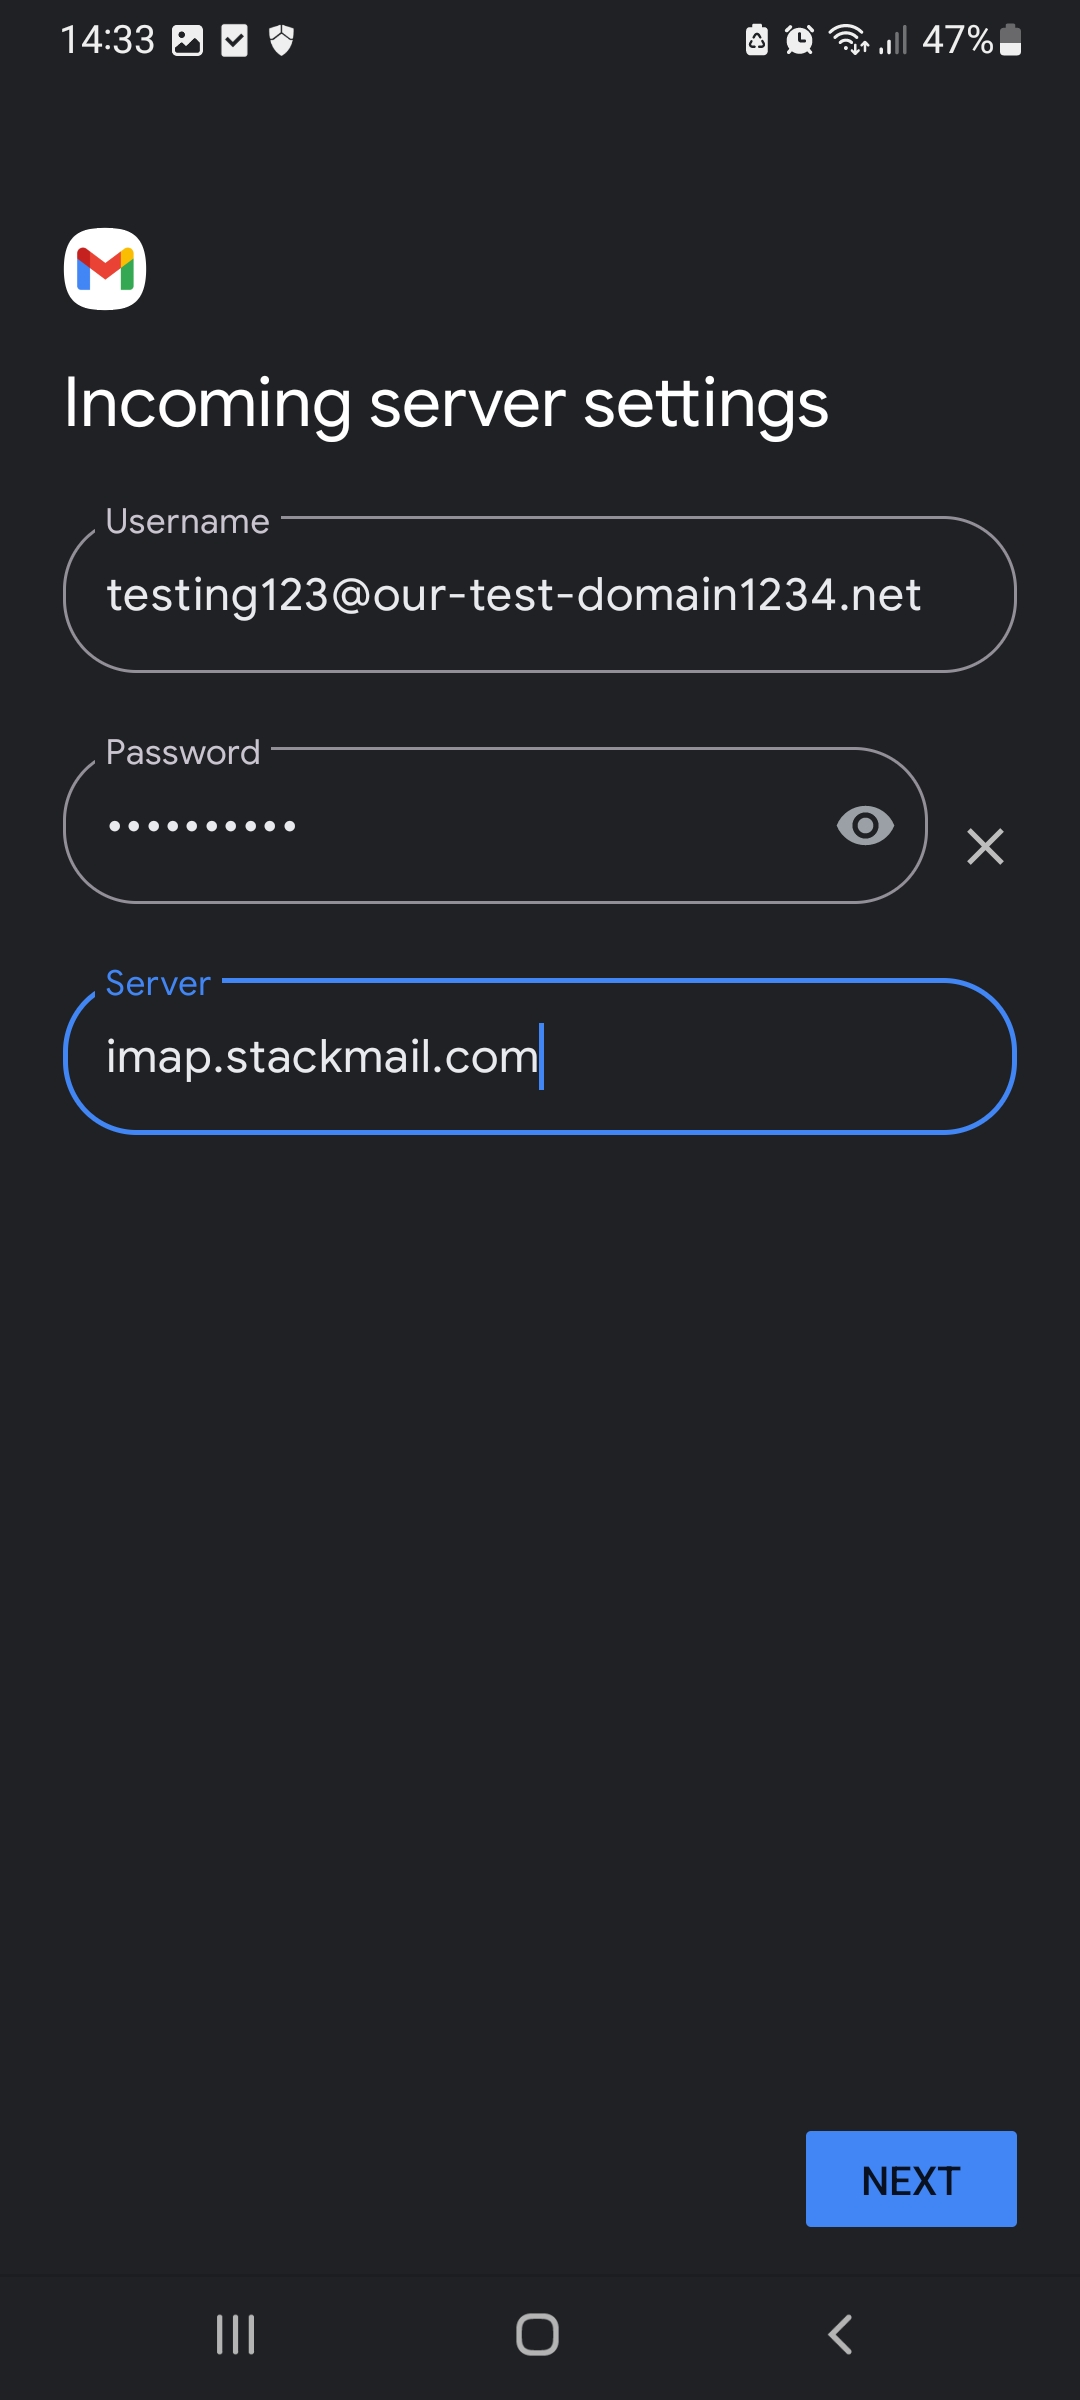
4. Change the IMAP server to : imap.stackmail.com
and click Next
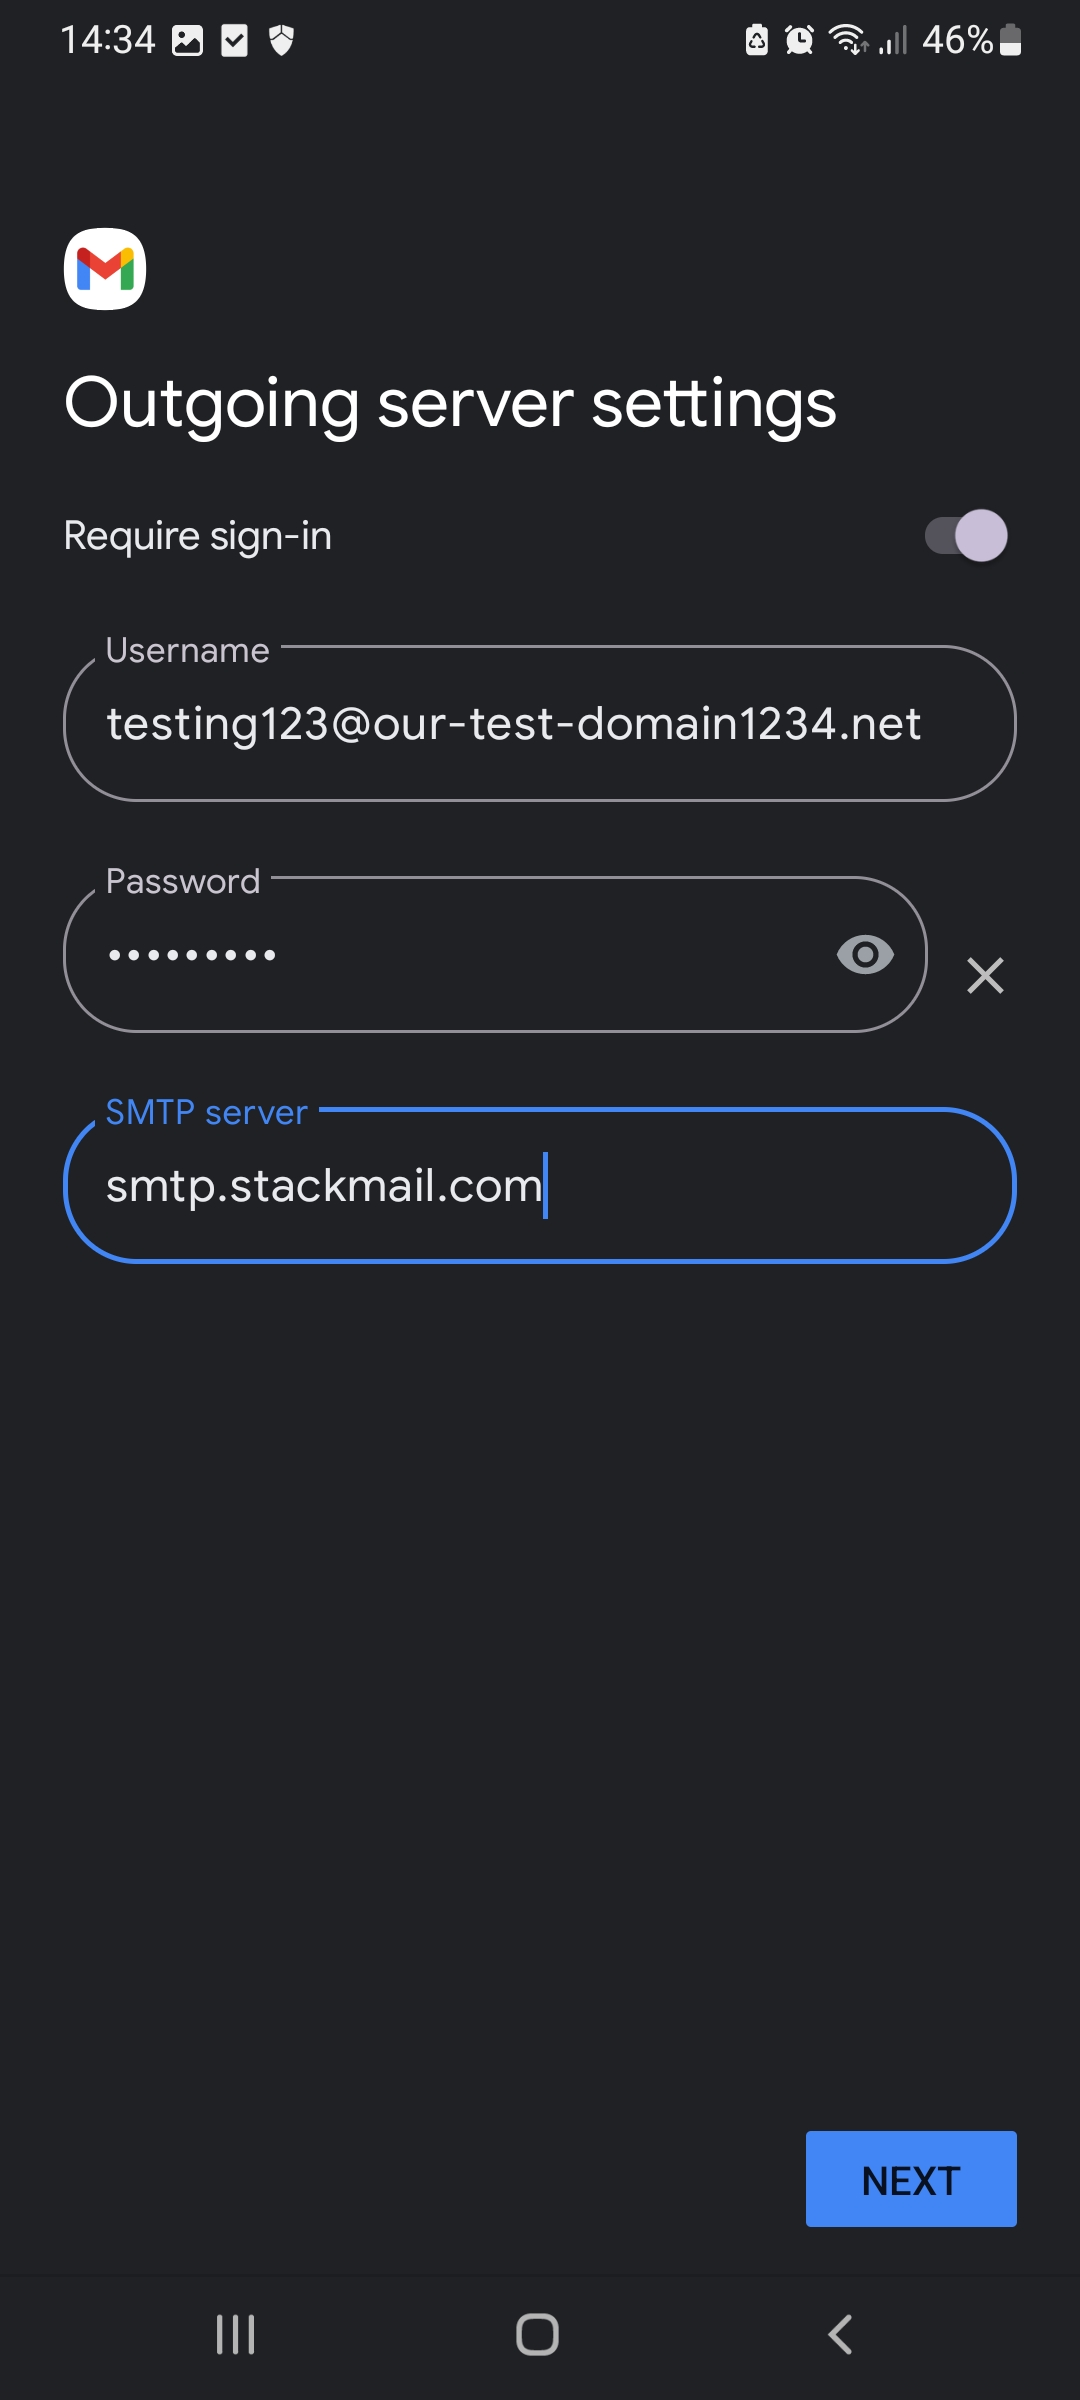
5. The next screen requests the SMTP details. Make sure that 'require Sign-in' is enabled and change the SMTP server to: smtp.stackmail.com
and click Next
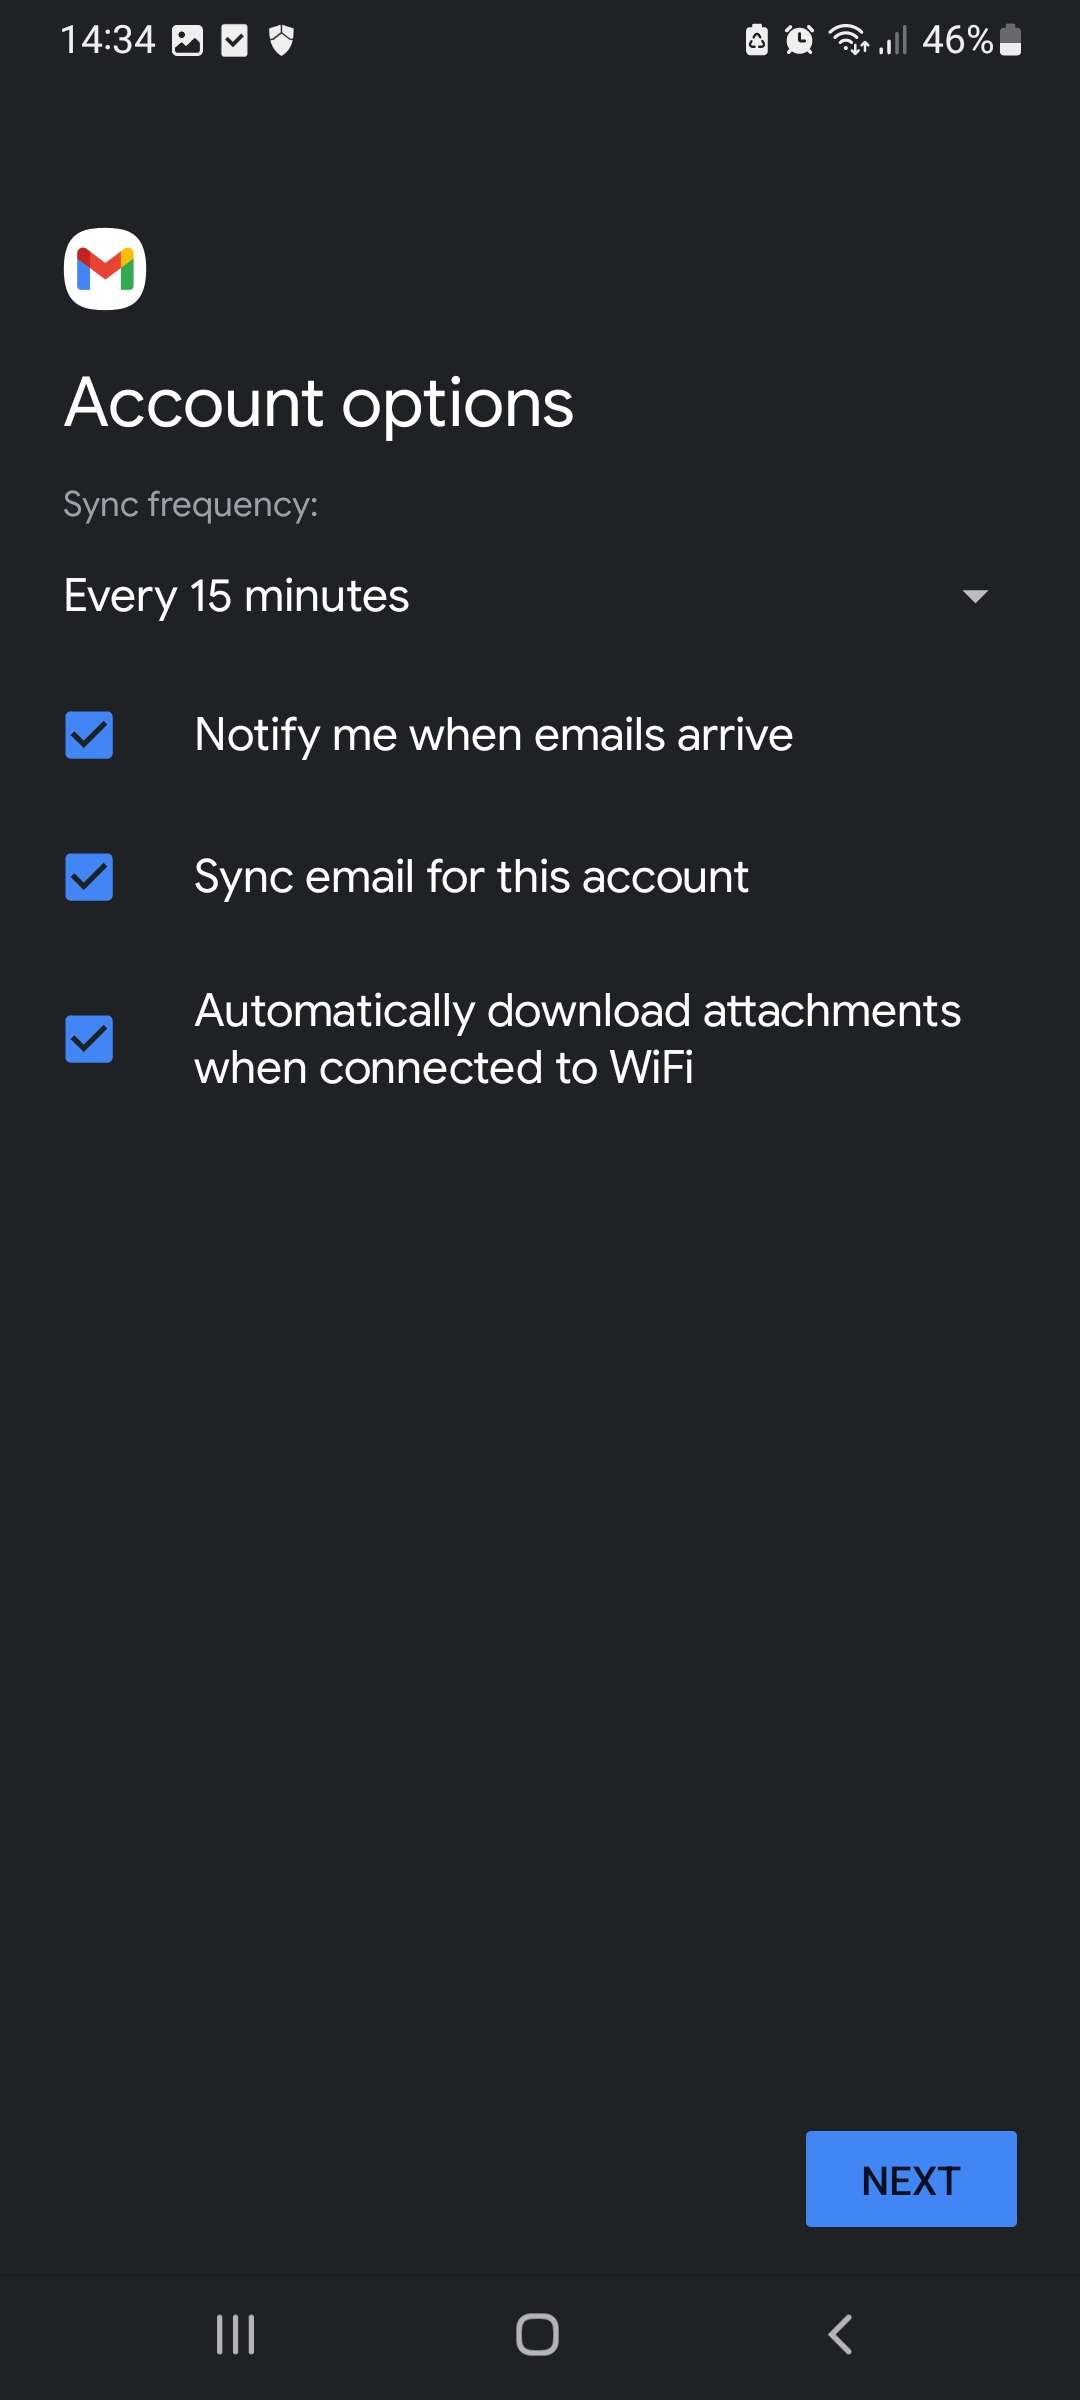
7. The next screen will list the sync features that you can enable or disable depending on your requirements. Then click Next
8. The next page will ask you to fill in your Name, which will be placed on emails that you send out. After filling that in, click Next to finish the wizard.
How to set up StackCP Email in Mail for Mac
How to set up StackCP Email addresses on Apple phone and iOS devices
What are the limits on the StackCP mail platform?
How to send Email from your Stackmail account using Gmail
How to setup StackCP email accounts on an Android mobile phone
In
this section, we will detail how to use the email accounts that you have
set up within the CHI account on your Android phone. This document
uses screenshots to show you the necessary steps of setting up an email
account through the Gmail app. The Stackcp email makes use of the
Auto-discover feature and below are the steps to help guide you through
the setup process on your Android Phone.
This article was created using the screenshot feature on a Android device running Android OS 13 .
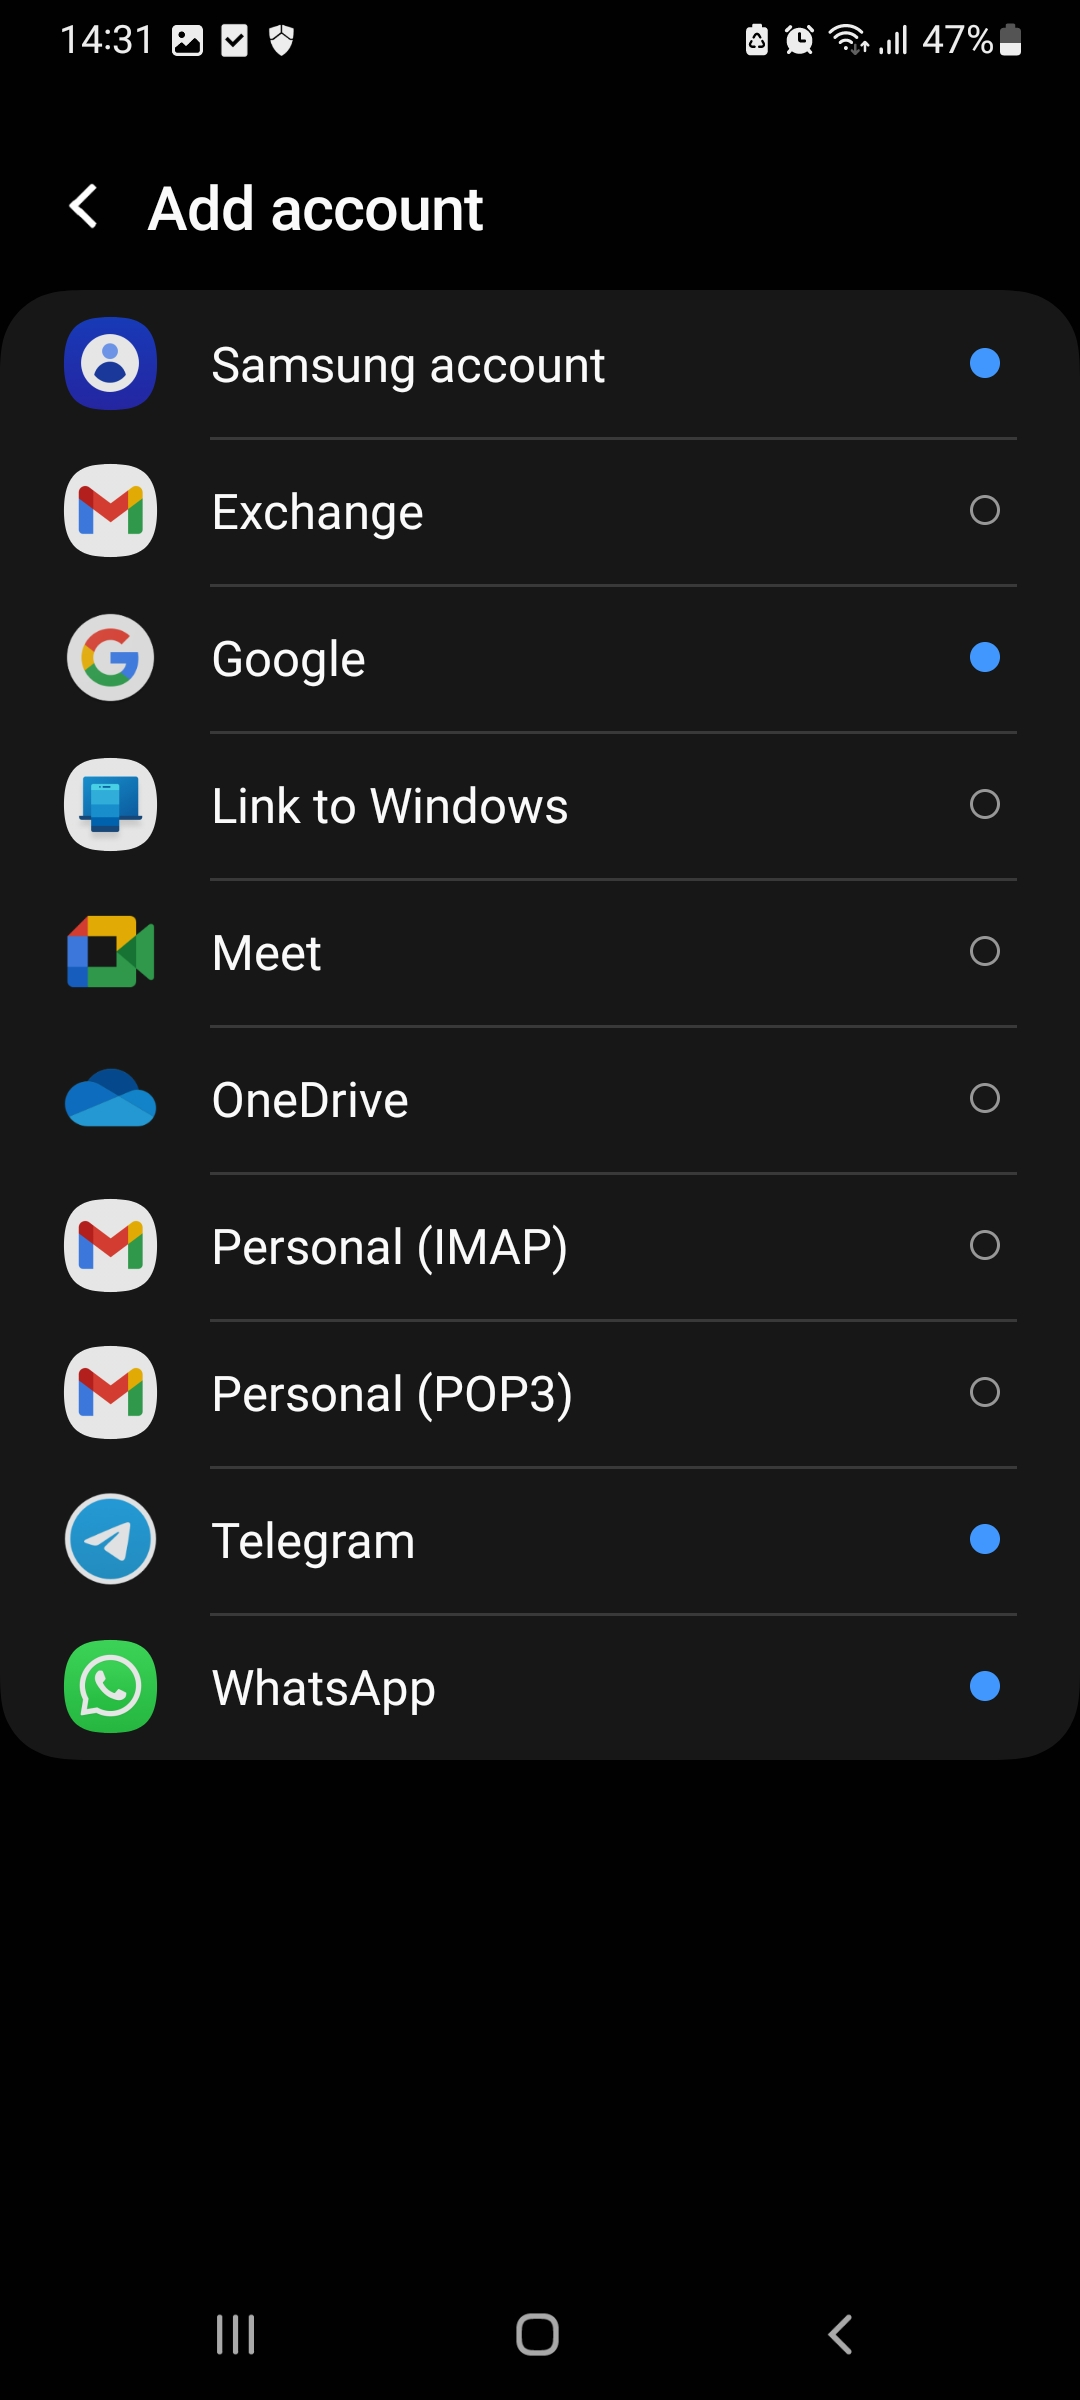
1. Click on the Gmail mail app and select the option to add a new account, then select 'Personal IMAP' as the type.
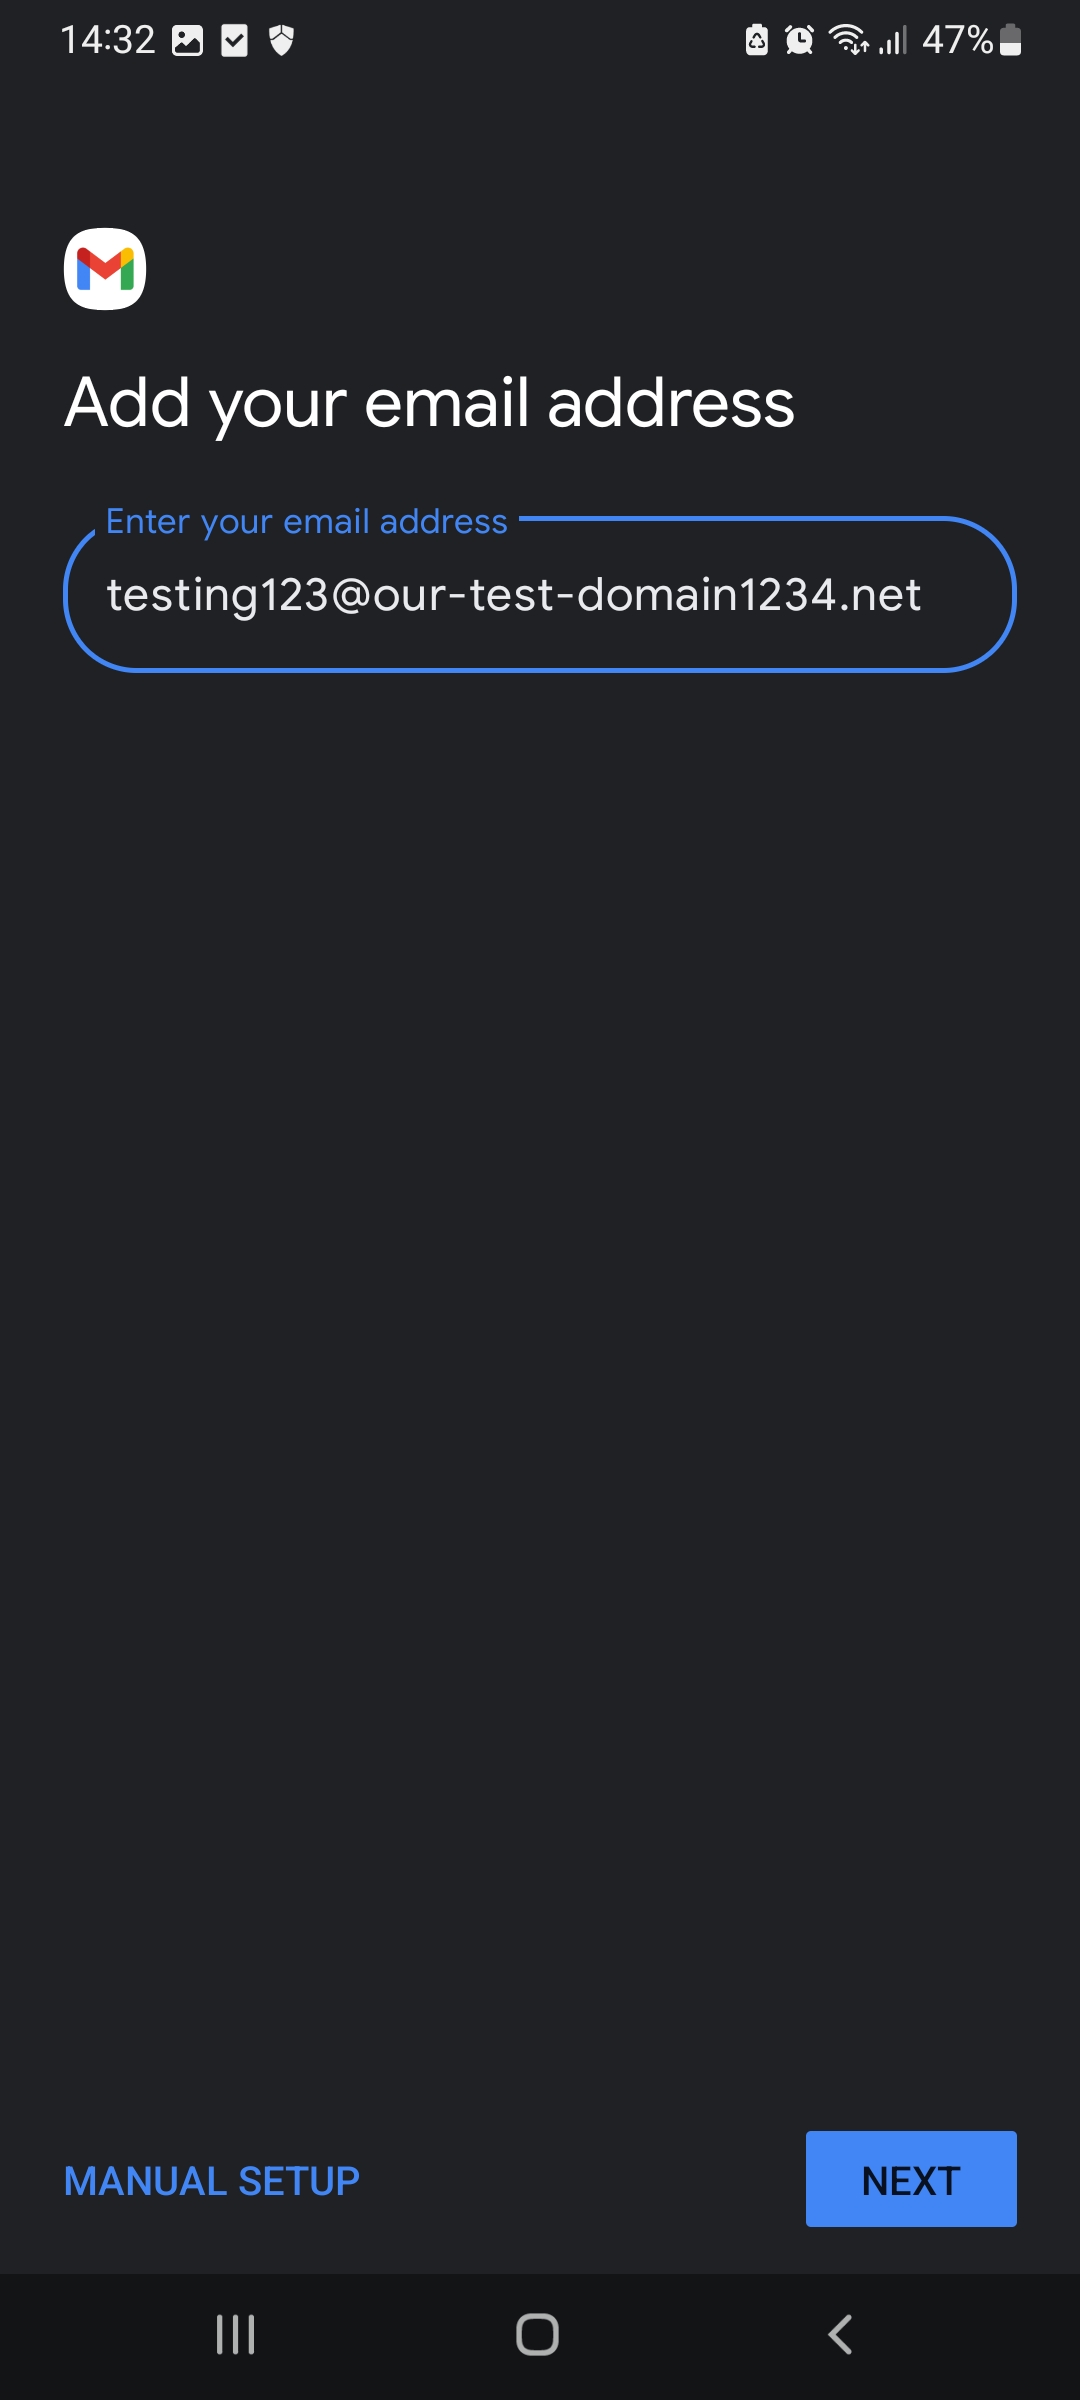
2. Enter your email address. Then click click 'Next'
**All pictures are for reference only. The actual layout of your interface may differ from the images below**
1. Click on the Gmail mail app and select the option to add a new account, then select 'Personal IMAP' as the type.
2. Enter your email address. Then click click 'Next'
3. Enter your password for that email address and click Next
4. Change the IMAP server to : imap.stackmail.com
and click Next
5. The next screen requests the SMTP details. Make sure that 'require Sign-in' is enabled and change the SMTP server to: smtp.stackmail.com
and click Next
7. The next screen will list the sync features that you can enable or disable depending on your requirements. Then click Next
8. The next page will ask you to fill in your Name, which will be placed on emails that you send out. After filling that in, click Next to finish the wizard.
Related Articles
Default Email settings for StackCP hosted emailsHow to set up StackCP Email in Mail for Mac
How to set up StackCP Email addresses on Apple phone and iOS devices
What are the limits on the StackCP mail platform?
How to send Email from your Stackmail account using Gmail
Can’t Find what you need?
No worries, Our experts are here to help.